 GetAPI
GetAPI.ONE
Create and access a GetAPI.ONE account
Register with username, password, and email verification; sign in safely; recognize success; and recover from common account errors.
Before registering
- Open only https://www.getapi.one and check the address bar before entering account data.
- Prepare a username, an 8–20 character password, and an email inbox that can receive the verification code.
- Read the User Agreement and Privacy Policy linked by the registration form before accepting them.
Register step by step
- Open Create account and enter your chosen username.
- Enter an 8–20 character password and repeat it exactly in the confirmation field.
- Enter your email, select Send verification code, then enter the code received by email.
- Review the linked terms, select the agreement checkbox, and choose Create account.
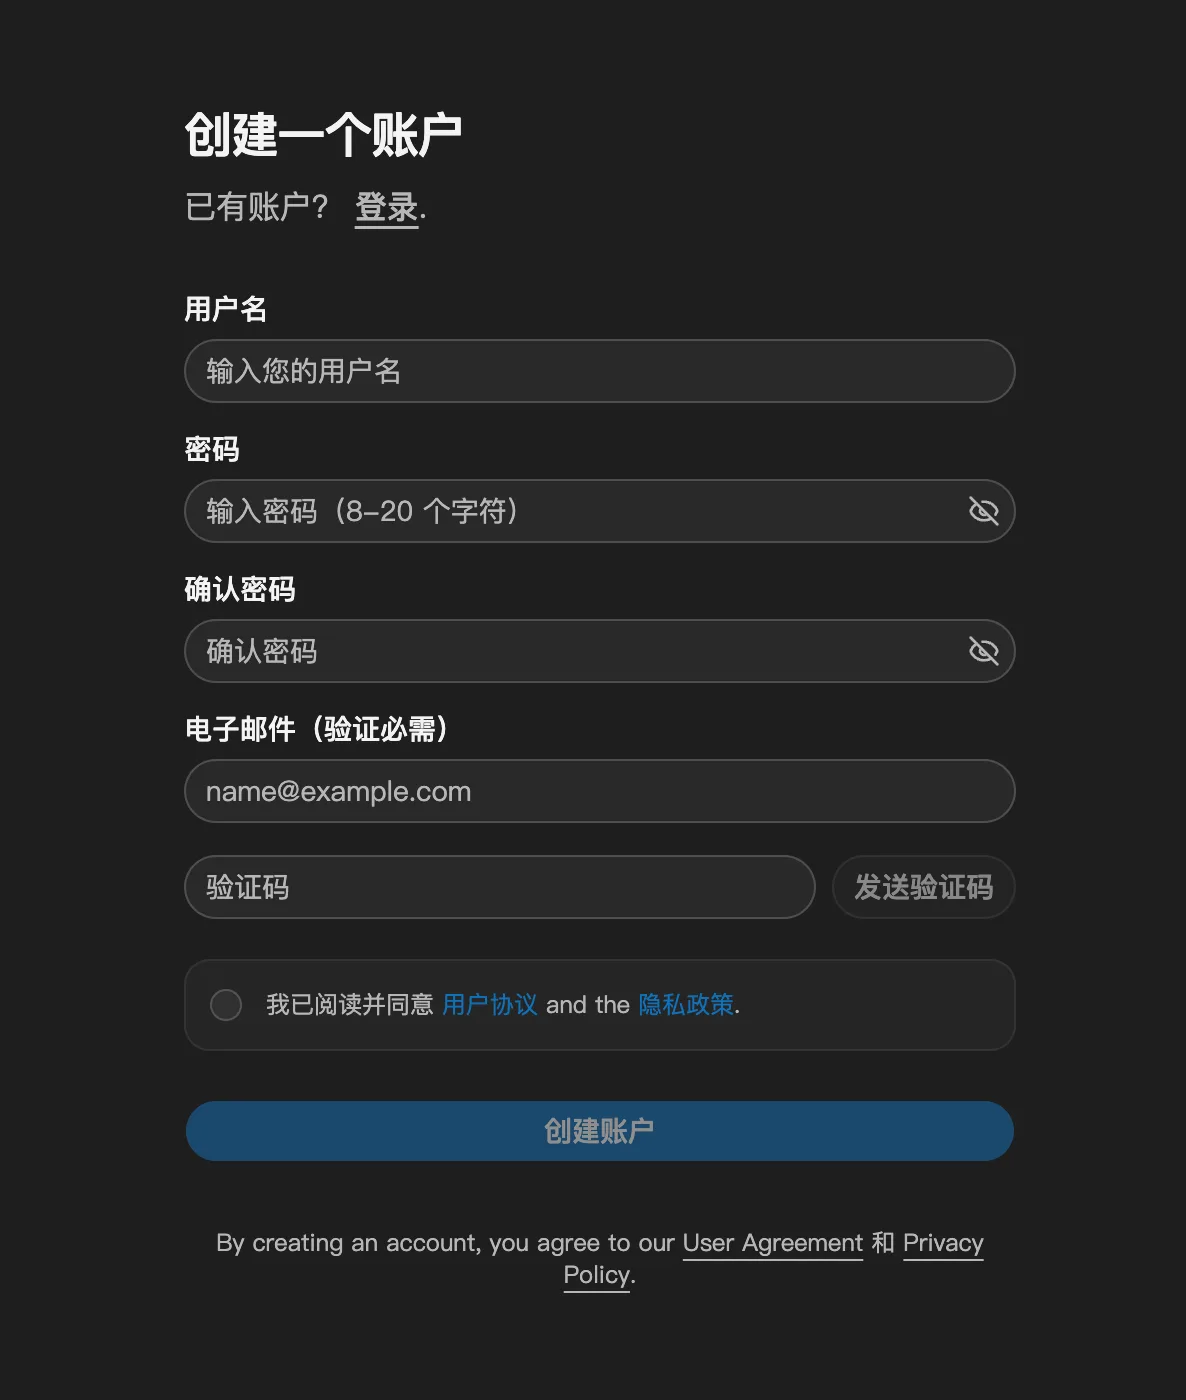
Sign in
- Open Sign in and enter either the registered username or email.
- Enter the password, review the linked terms, select the agreement checkbox, and choose Sign in.
- If you forgot the password, use the Forgot password link beside the password field and follow the on-screen recovery flow.
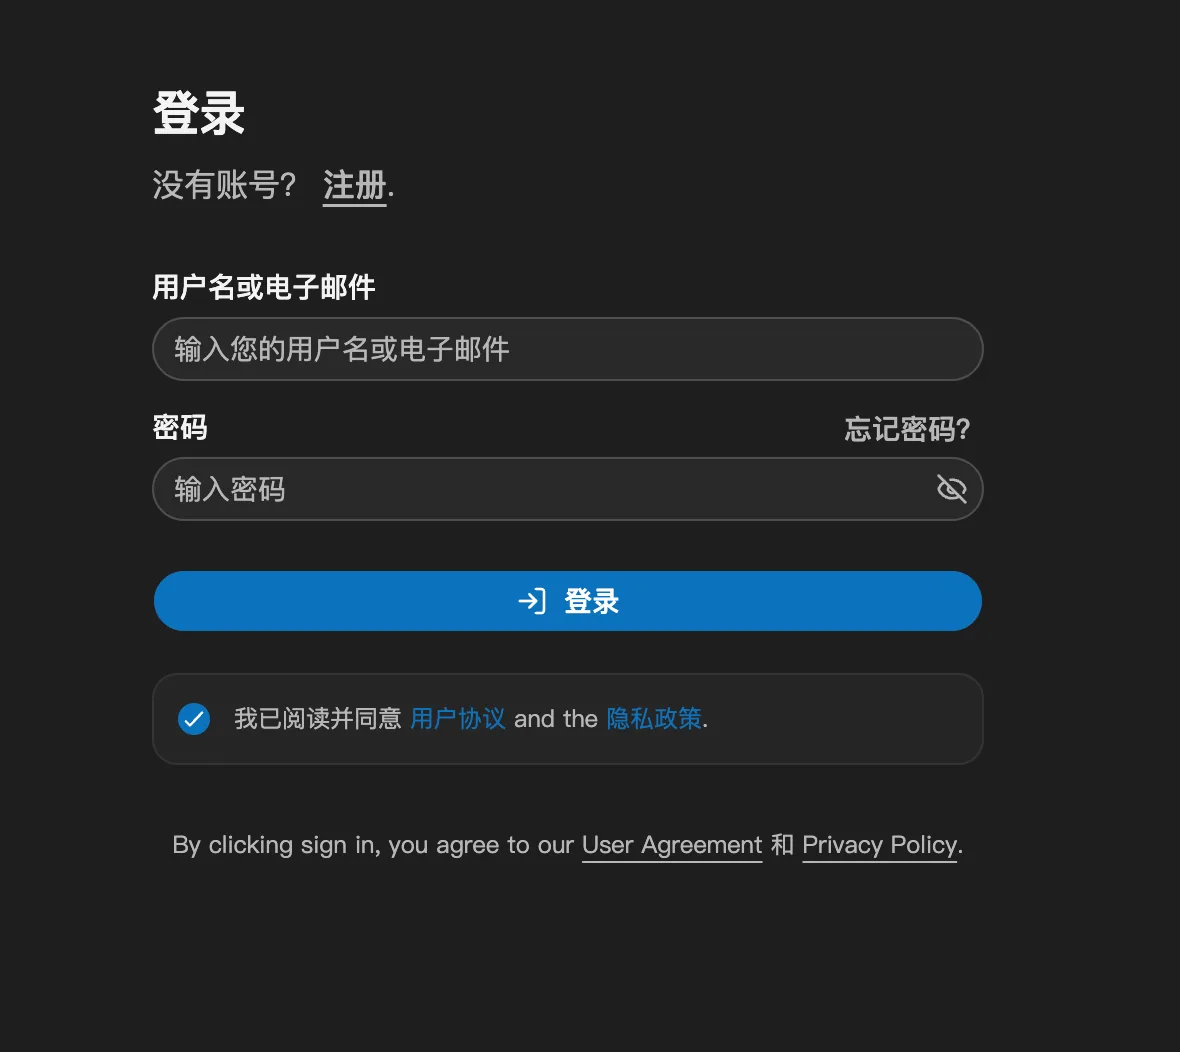
Confirm successful access
The source workflow treats arrival at the account overview as the success check. The left navigation should expose account areas such as API Keys, usage logs, task logs, wallet, and profile according to the account permissions.
Registration and sign-in errors
| Symptom | Check in order |
|---|---|
| Verification code does not arrive | Confirm the email spelling, wait for the current send result, check spam, then request a new code only after the interface permits it. |
| Password rejected during registration | Use 8–20 characters and make the confirmation match exactly. |
| Cannot sign in | Confirm the ONE domain, try the registered username or email, re-enter the password, and use Forgot password if needed. |
| Form keeps rejecting submission | Read the visible field error, confirm the agreement checkbox, keep a screenshot without secrets, and contact support with the time and step. |
Next: create a bounded key
After the overview opens, continue to API Keys. Use a separate, named key for each client or project so you can audit and revoke access without affecting unrelated integrations.